Here, you will find all the information to set up your first chatbot

INSTALLATION

Getting started with

B24Chatbot - Installation

Installing B24Chatbot is easy!

Just log in to the Bitrix24 Marketplace, search for our application and click the "Install" button.

Wait for the download to complete, and that's it! You can now see the option "B24Chatbot" in the left side menu of your Bitrix24 portal. 


If you don't find the app un the marketplace, you can to access directly to https://app.b24chatbot.com and sign up!

Getting started on B24Chatbot - User registration

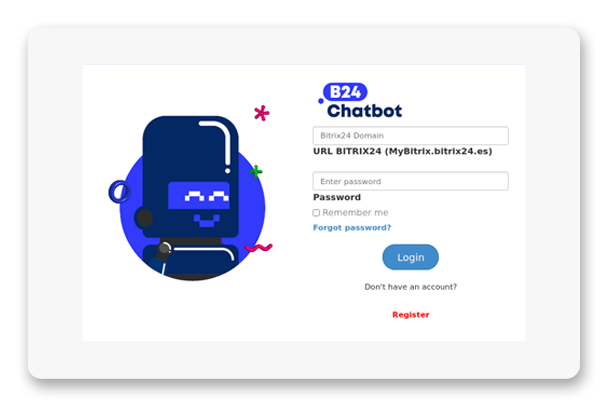
When you open the application for the first time, you need to sign up. After that, you can log in using your Bitrix24 account address name and the password that you created in the registration.

Set up

B24Chatbot set up


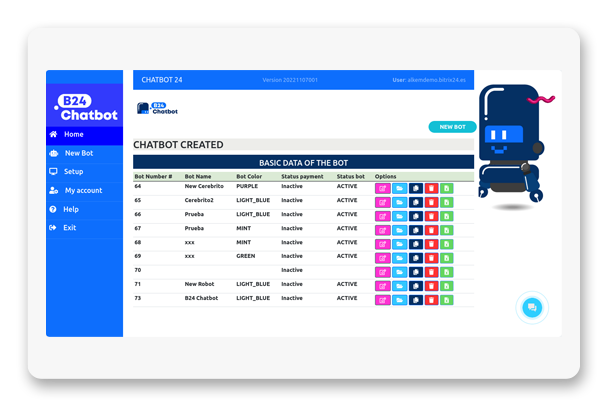
Once you have logged into the account you will see the main panel. When you create a chatbot or multiple chatbots, you will see all of them from this screen
Create New Bot

To set up a new chatbot, you must click on the "New bot" button located on the top right margin of the panel, or by selecting the same option on the left side menu.

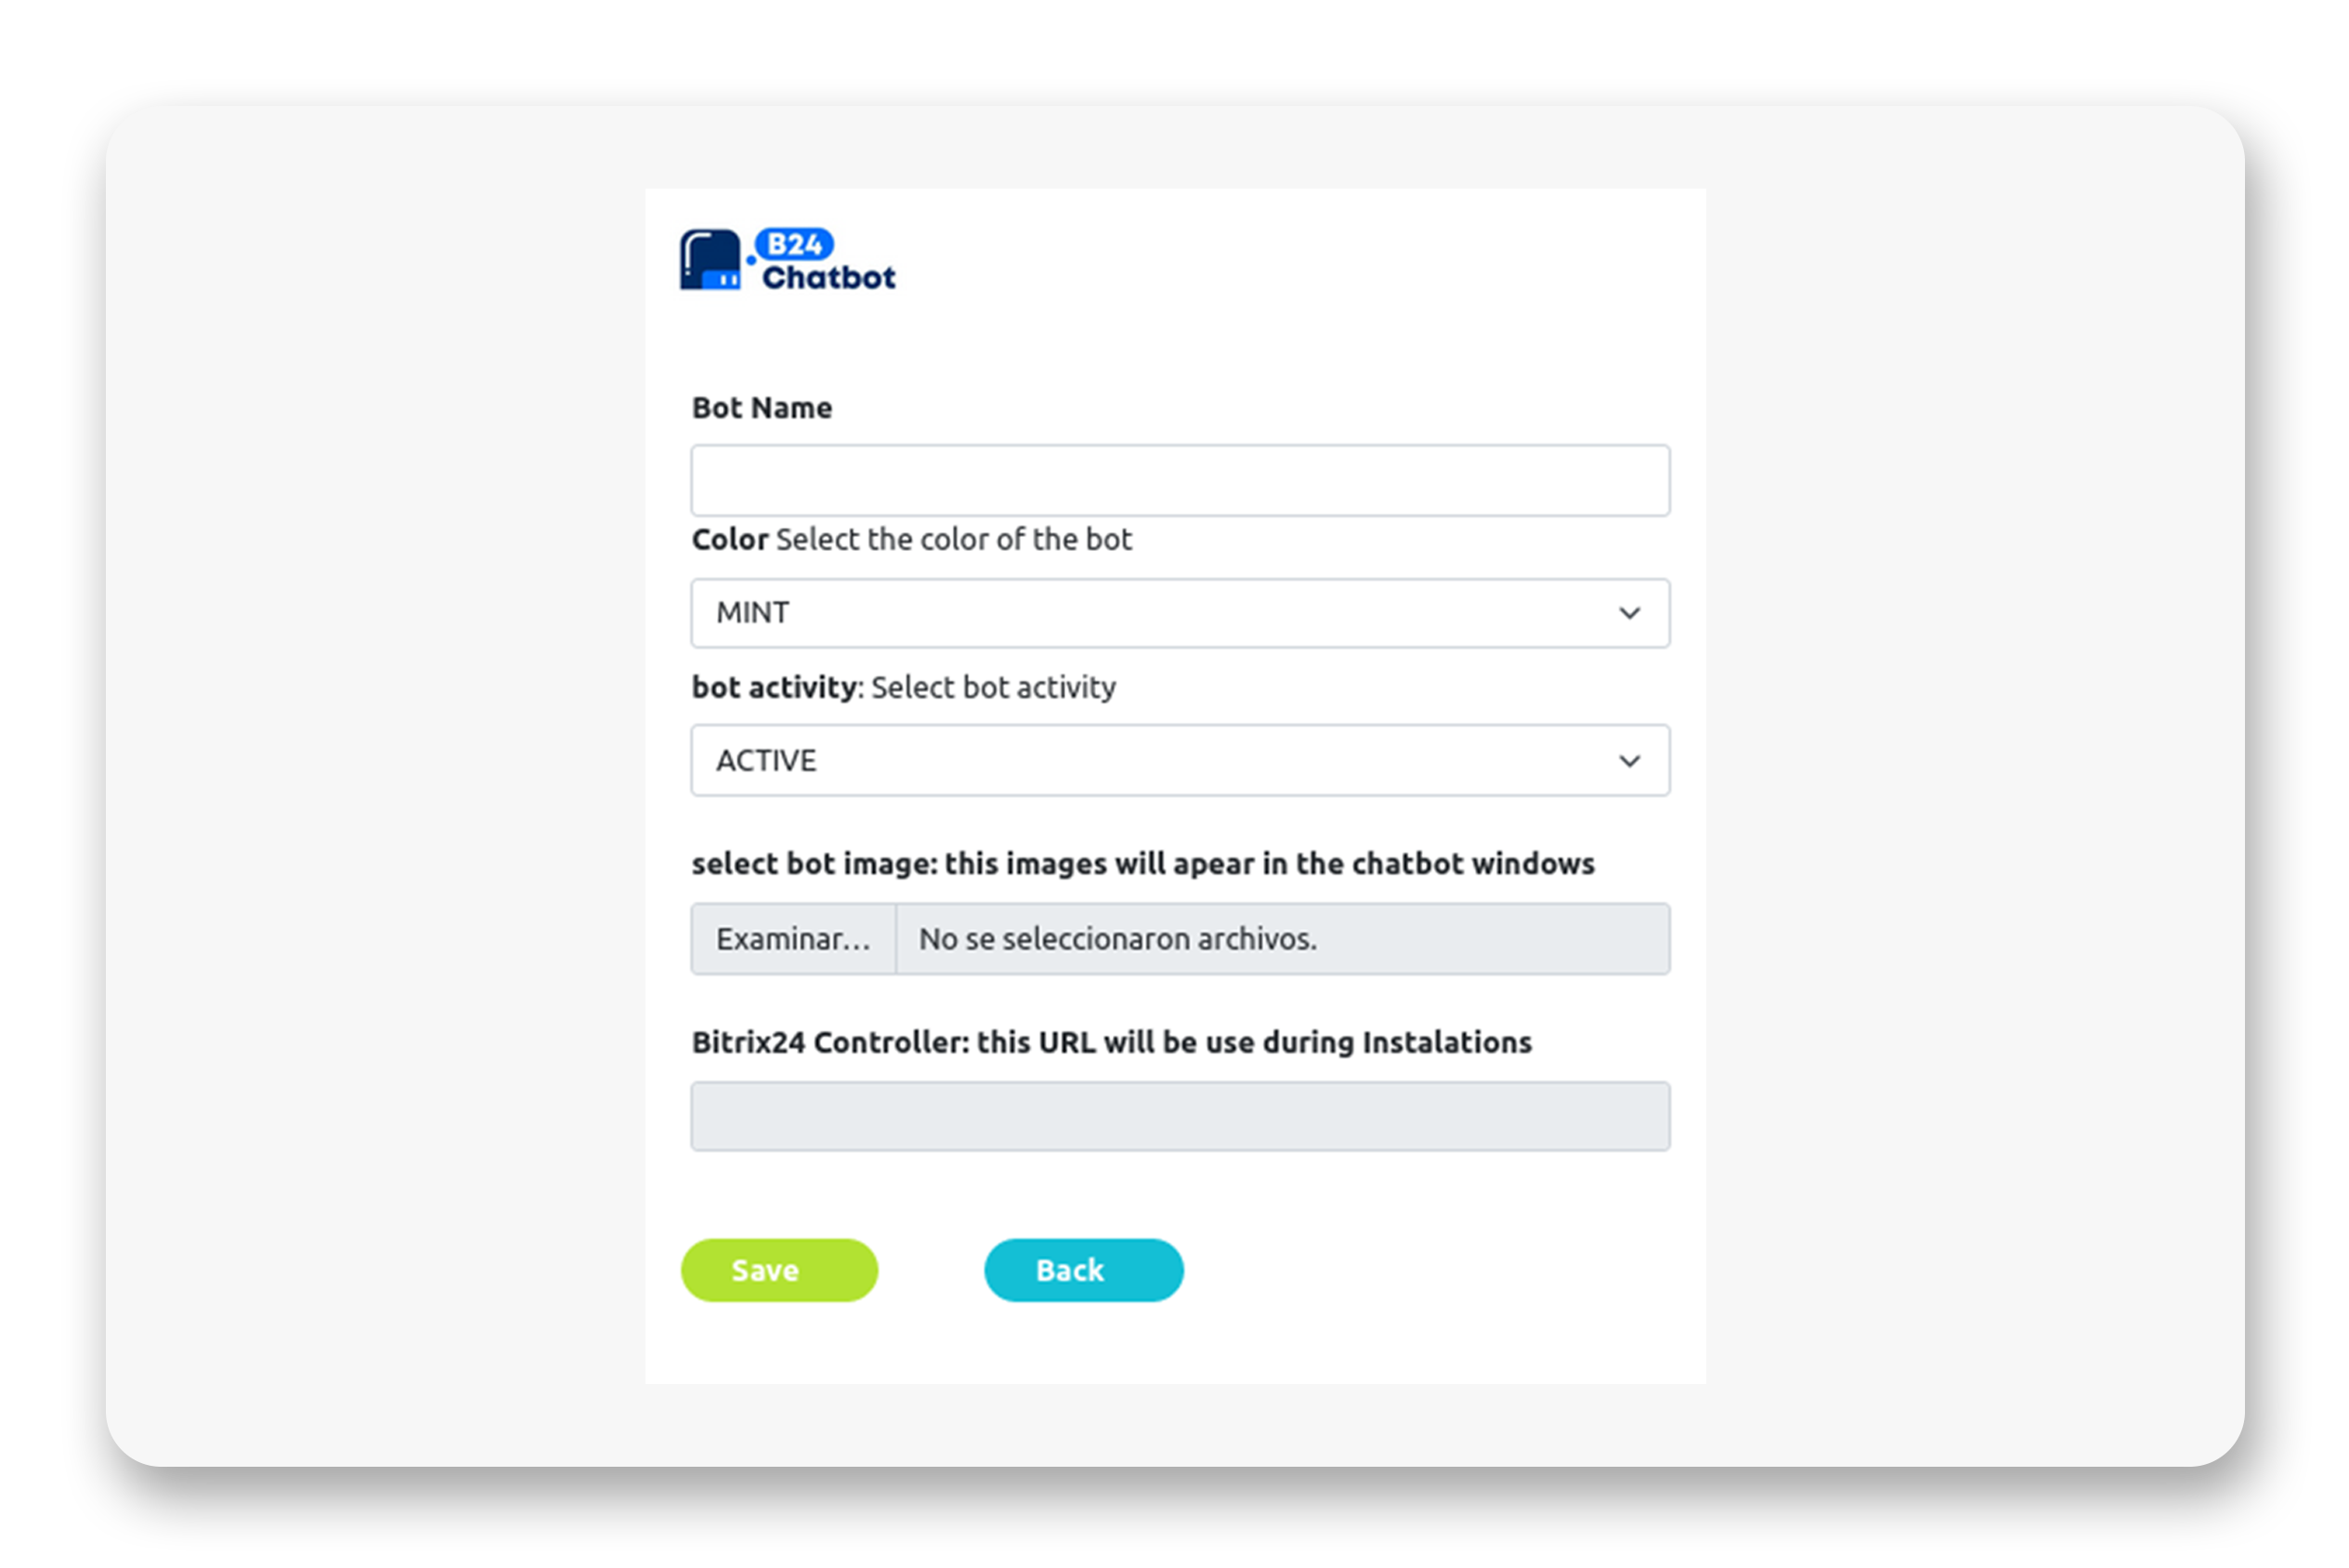
When you click on the option, a new screen will appear with the following options: 

Bot name: displays the name assigned to the bot
Colour: assigns a colour to the chatbot bubble and its captions
Image: image to be assigned to the bot, in png or jpg format. This is an optional field.

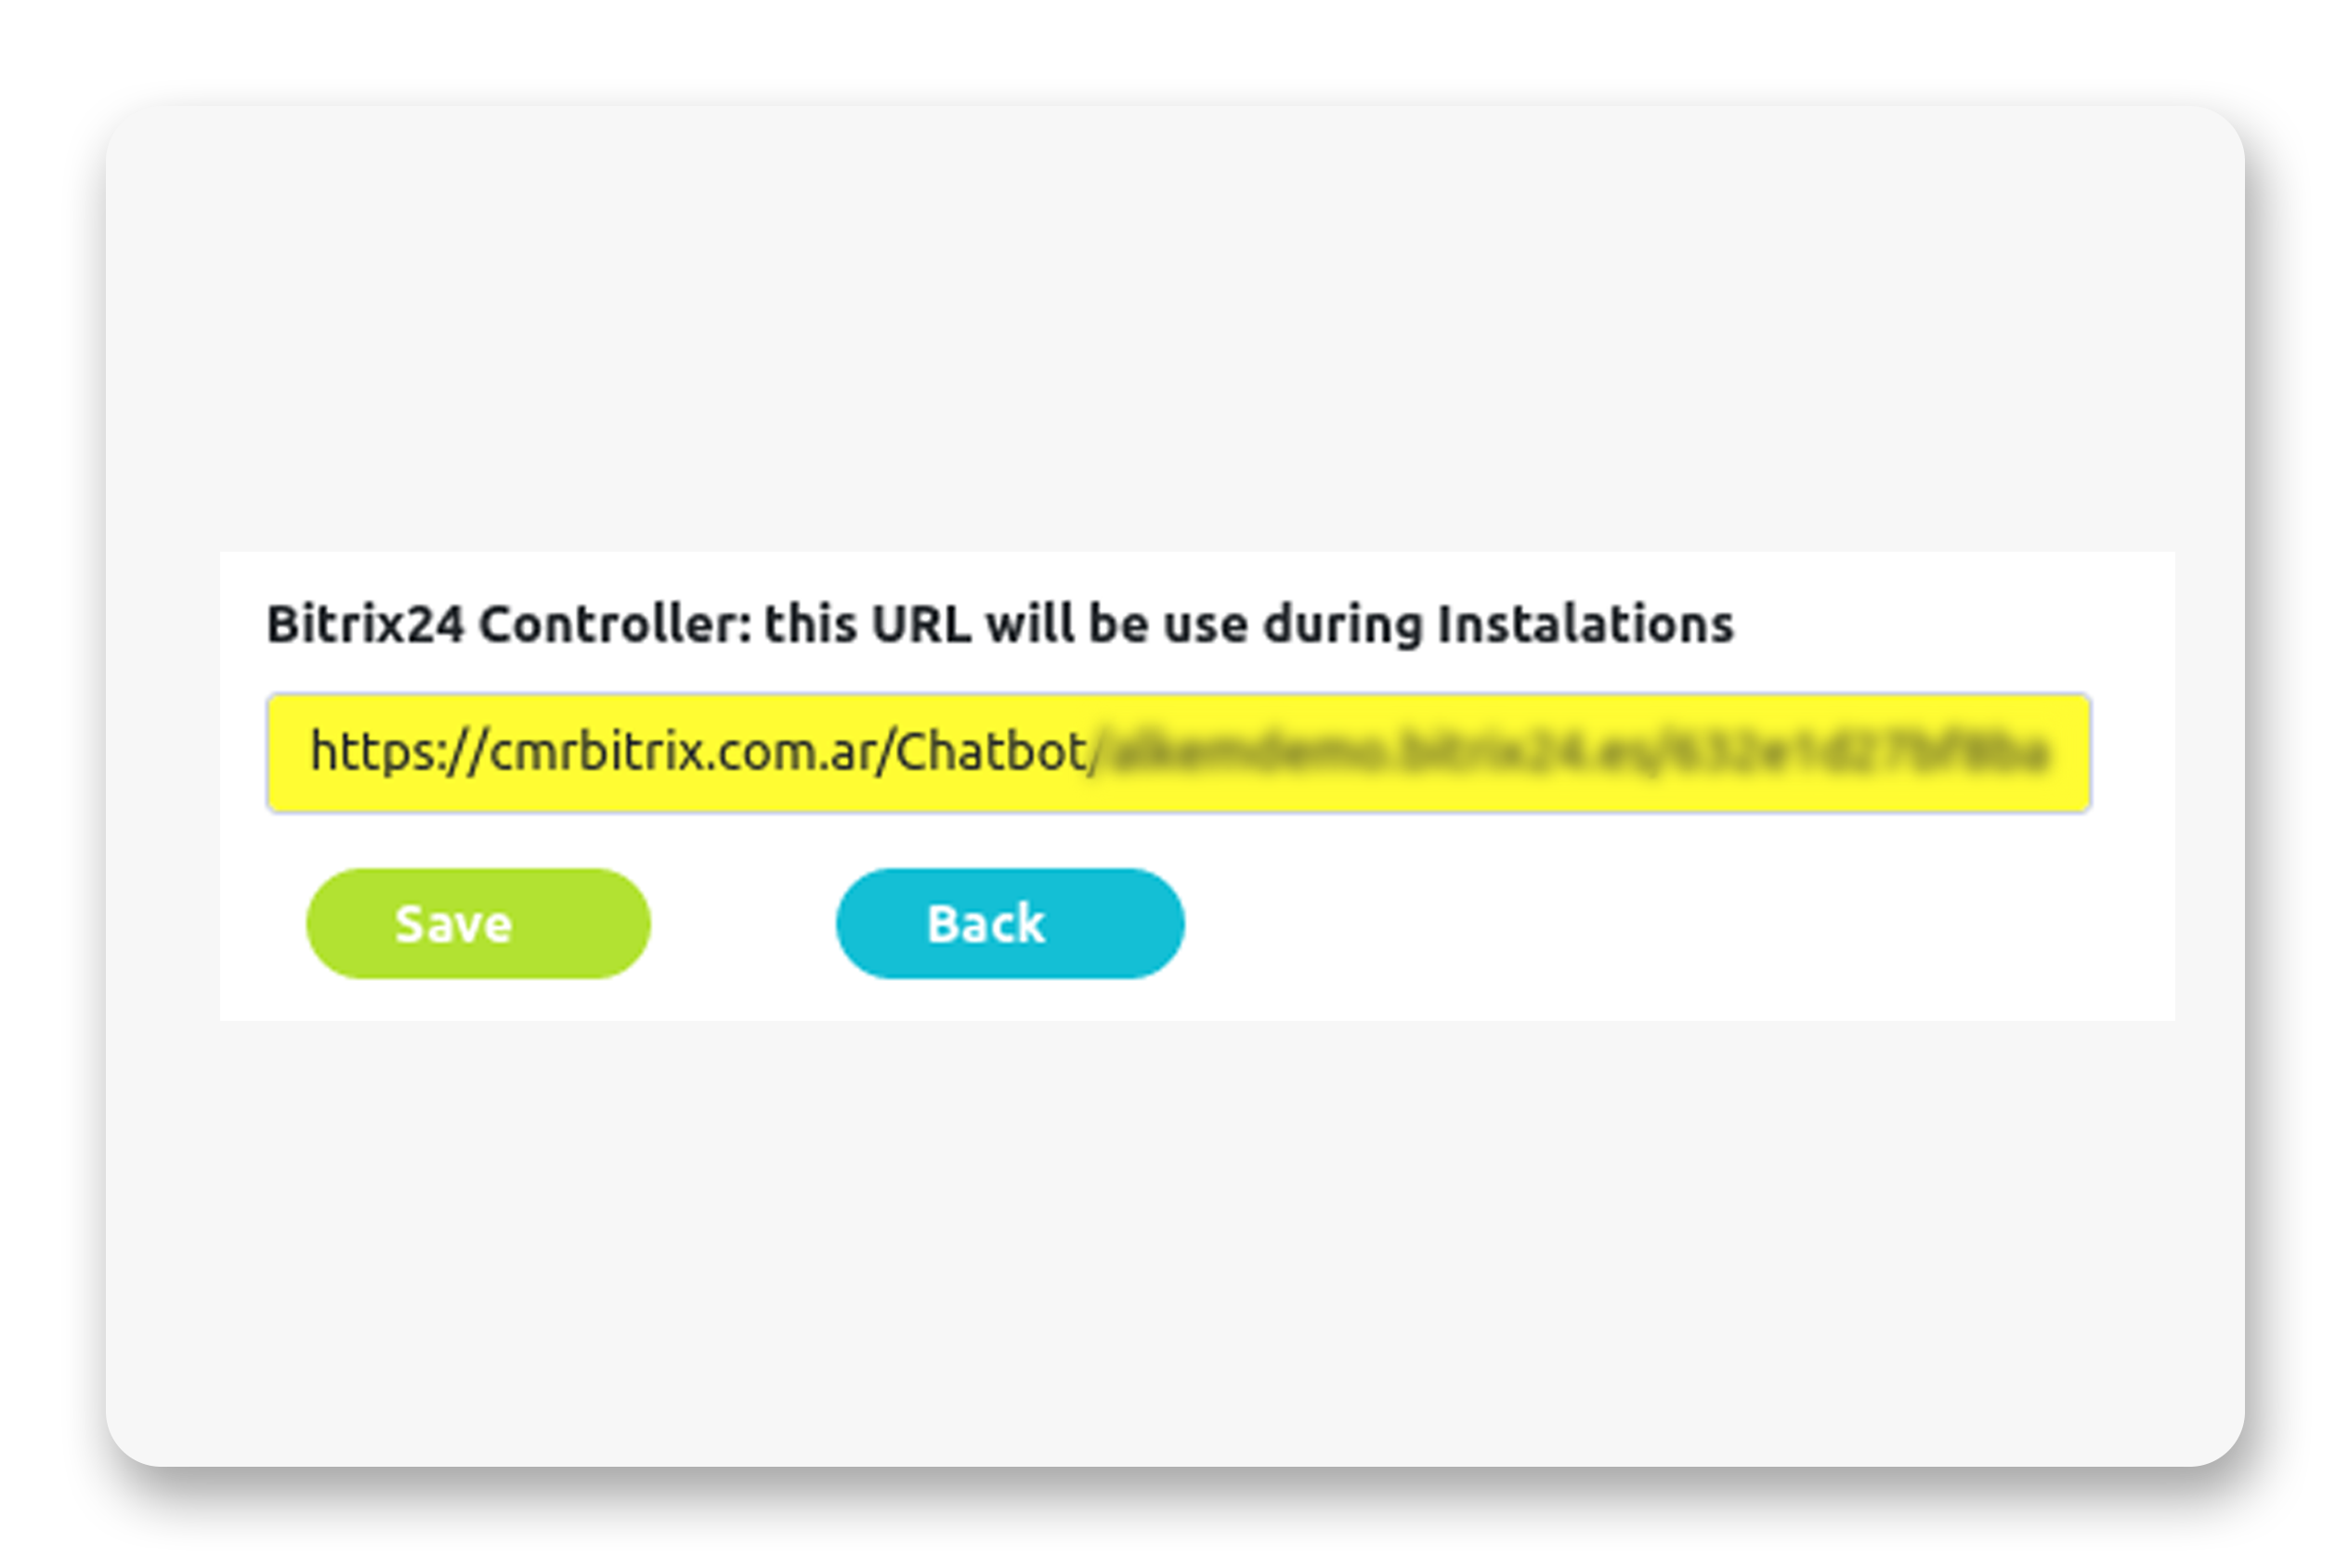
When you press the "Save" button, a unique and non-transferable URL will be generated and you can see it in the textbox called "Bitrix24 Controller". Later, you will use this URL to add in your Bitrix24 account to register the Chatbot, as we will see in the section How to register my Chatbot in Bitrix24. 

Press the "Back" button to return to the Home screen. 

Home

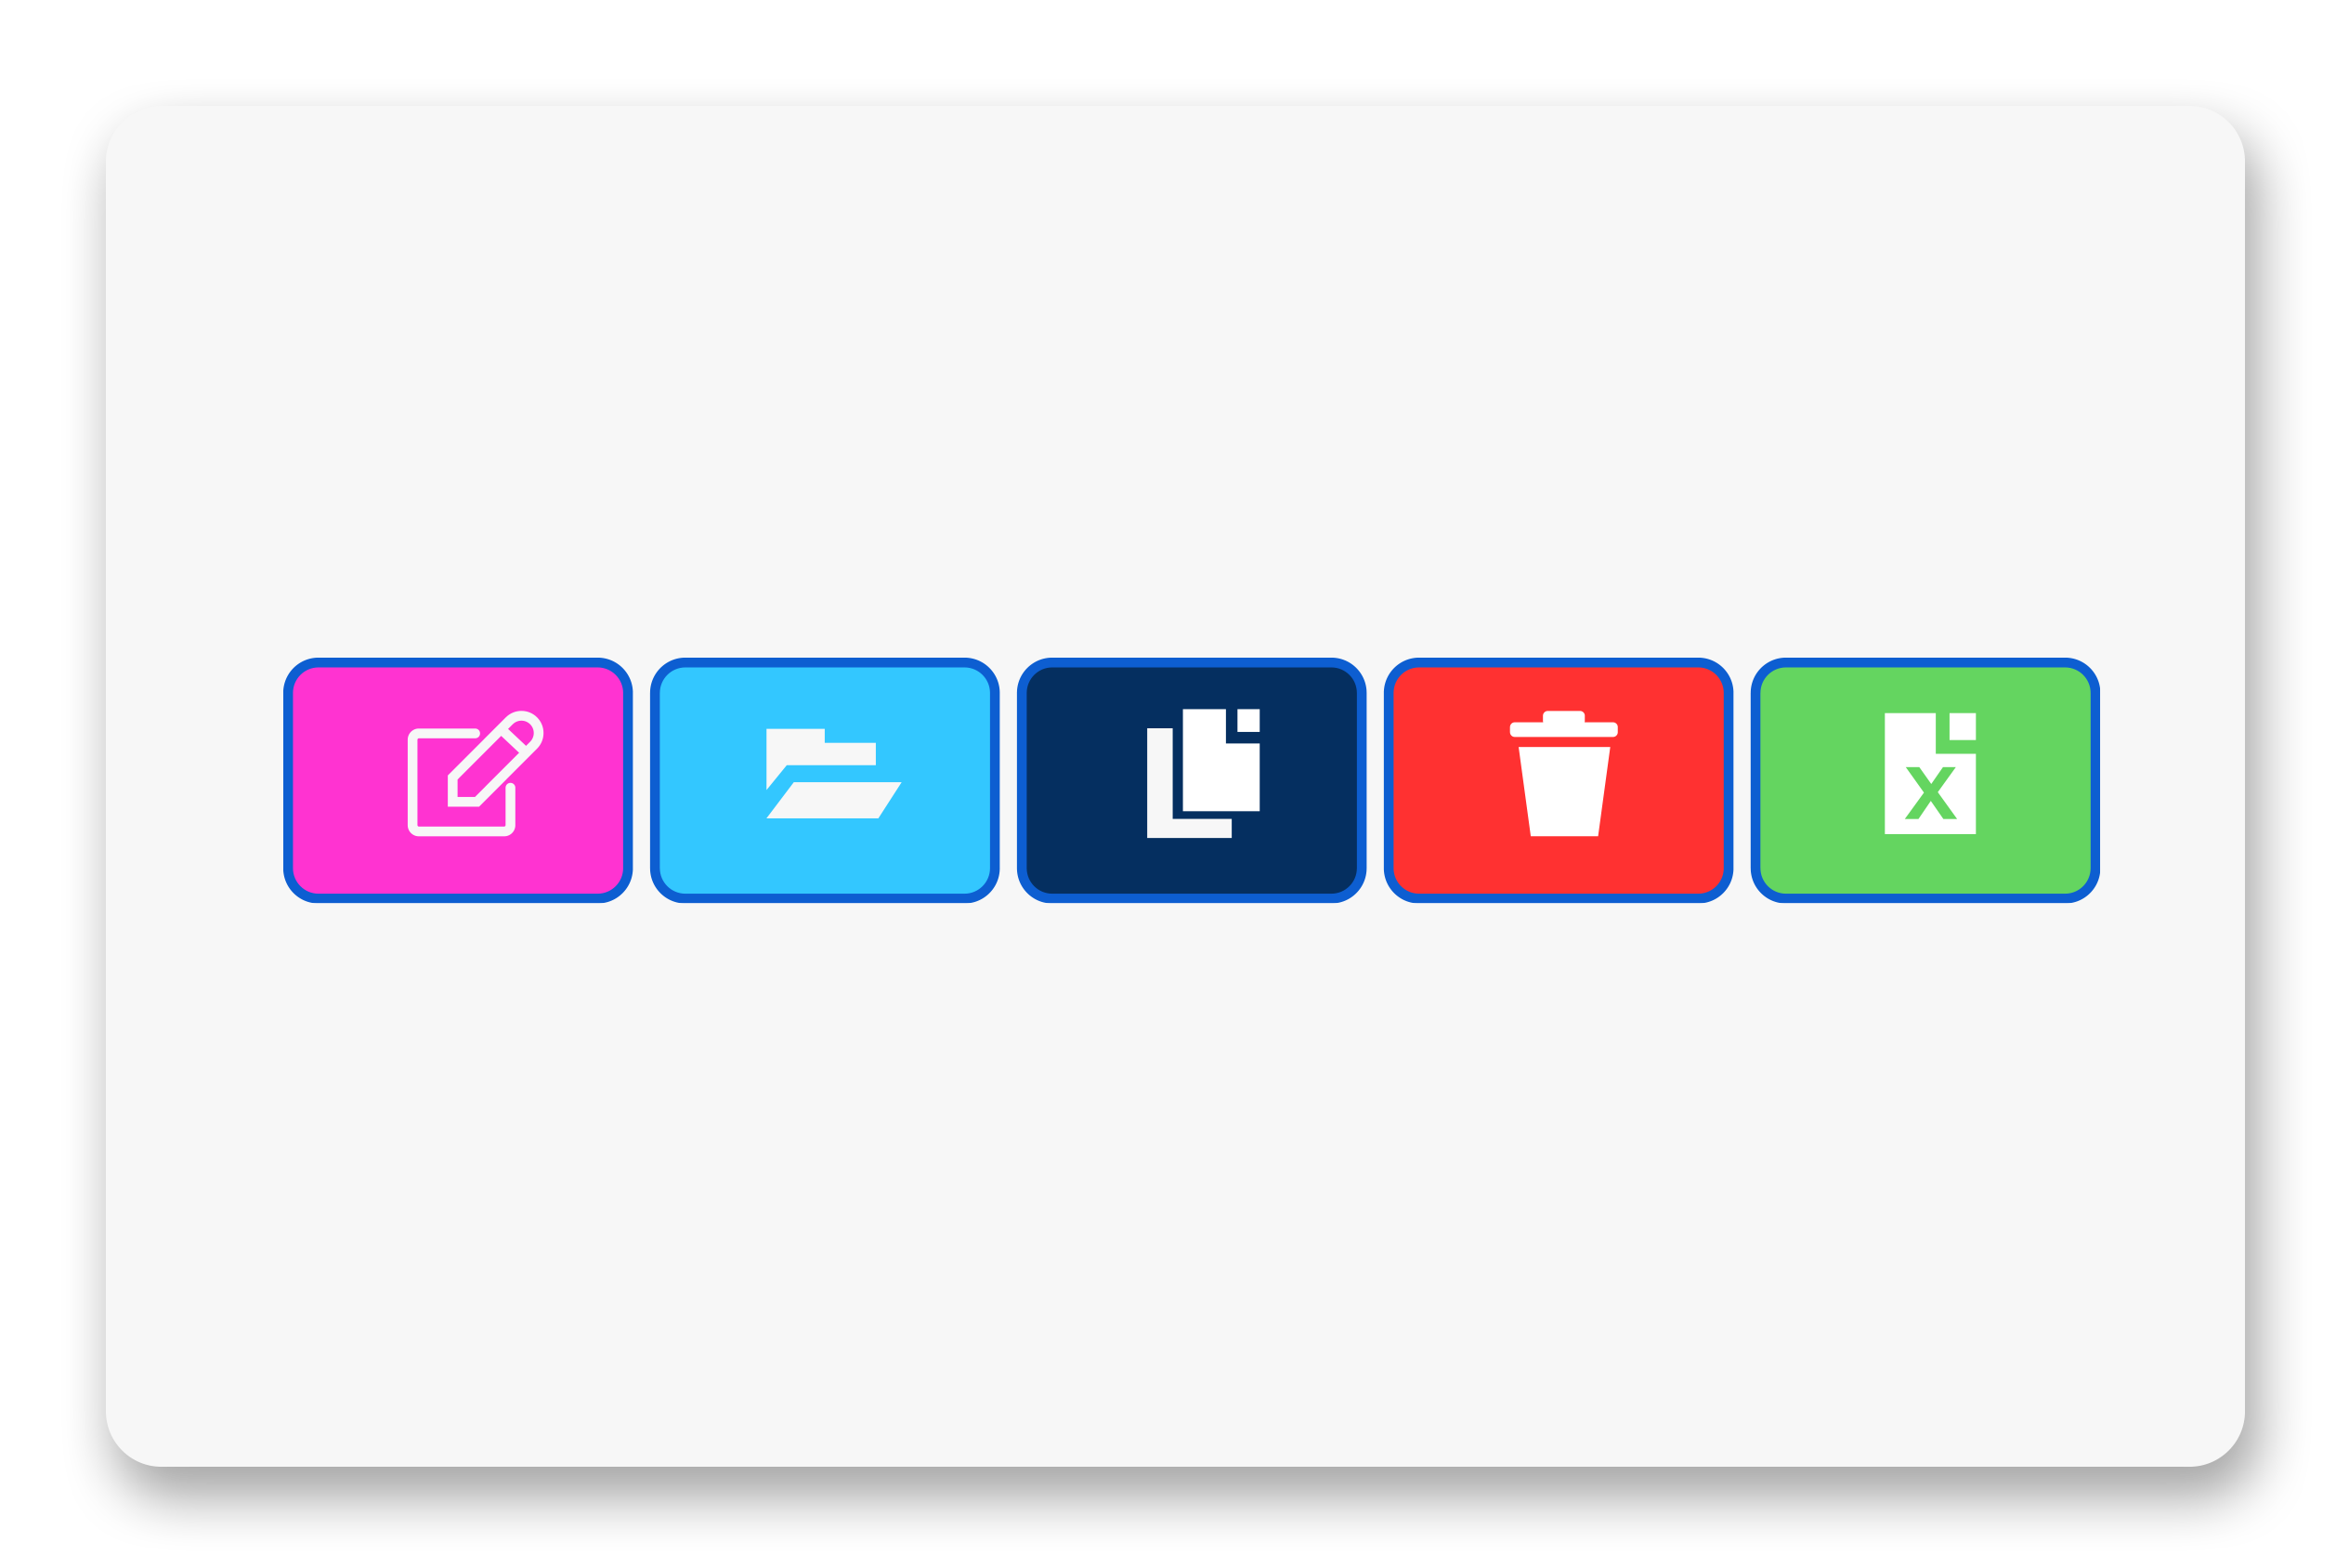
When you create a Chatbot you will see it in the "Home" menu option. There you will see the following options for each chatbot:

Edit: Allows you to edit the general settings of the generated Chatbot (name, colour).
Settings: Allows you to configure the chatbot's options and answers.
Copy: Allows you to copy the bot options to a new one bot.
Delete: Deletes the chatbot and its settings
Excel: Soon it will be possible to use an Excel CSV file with the questions and answers to generate a Chatbot in an easy way. 
CONFIGURE CHATBOT OPTIONS

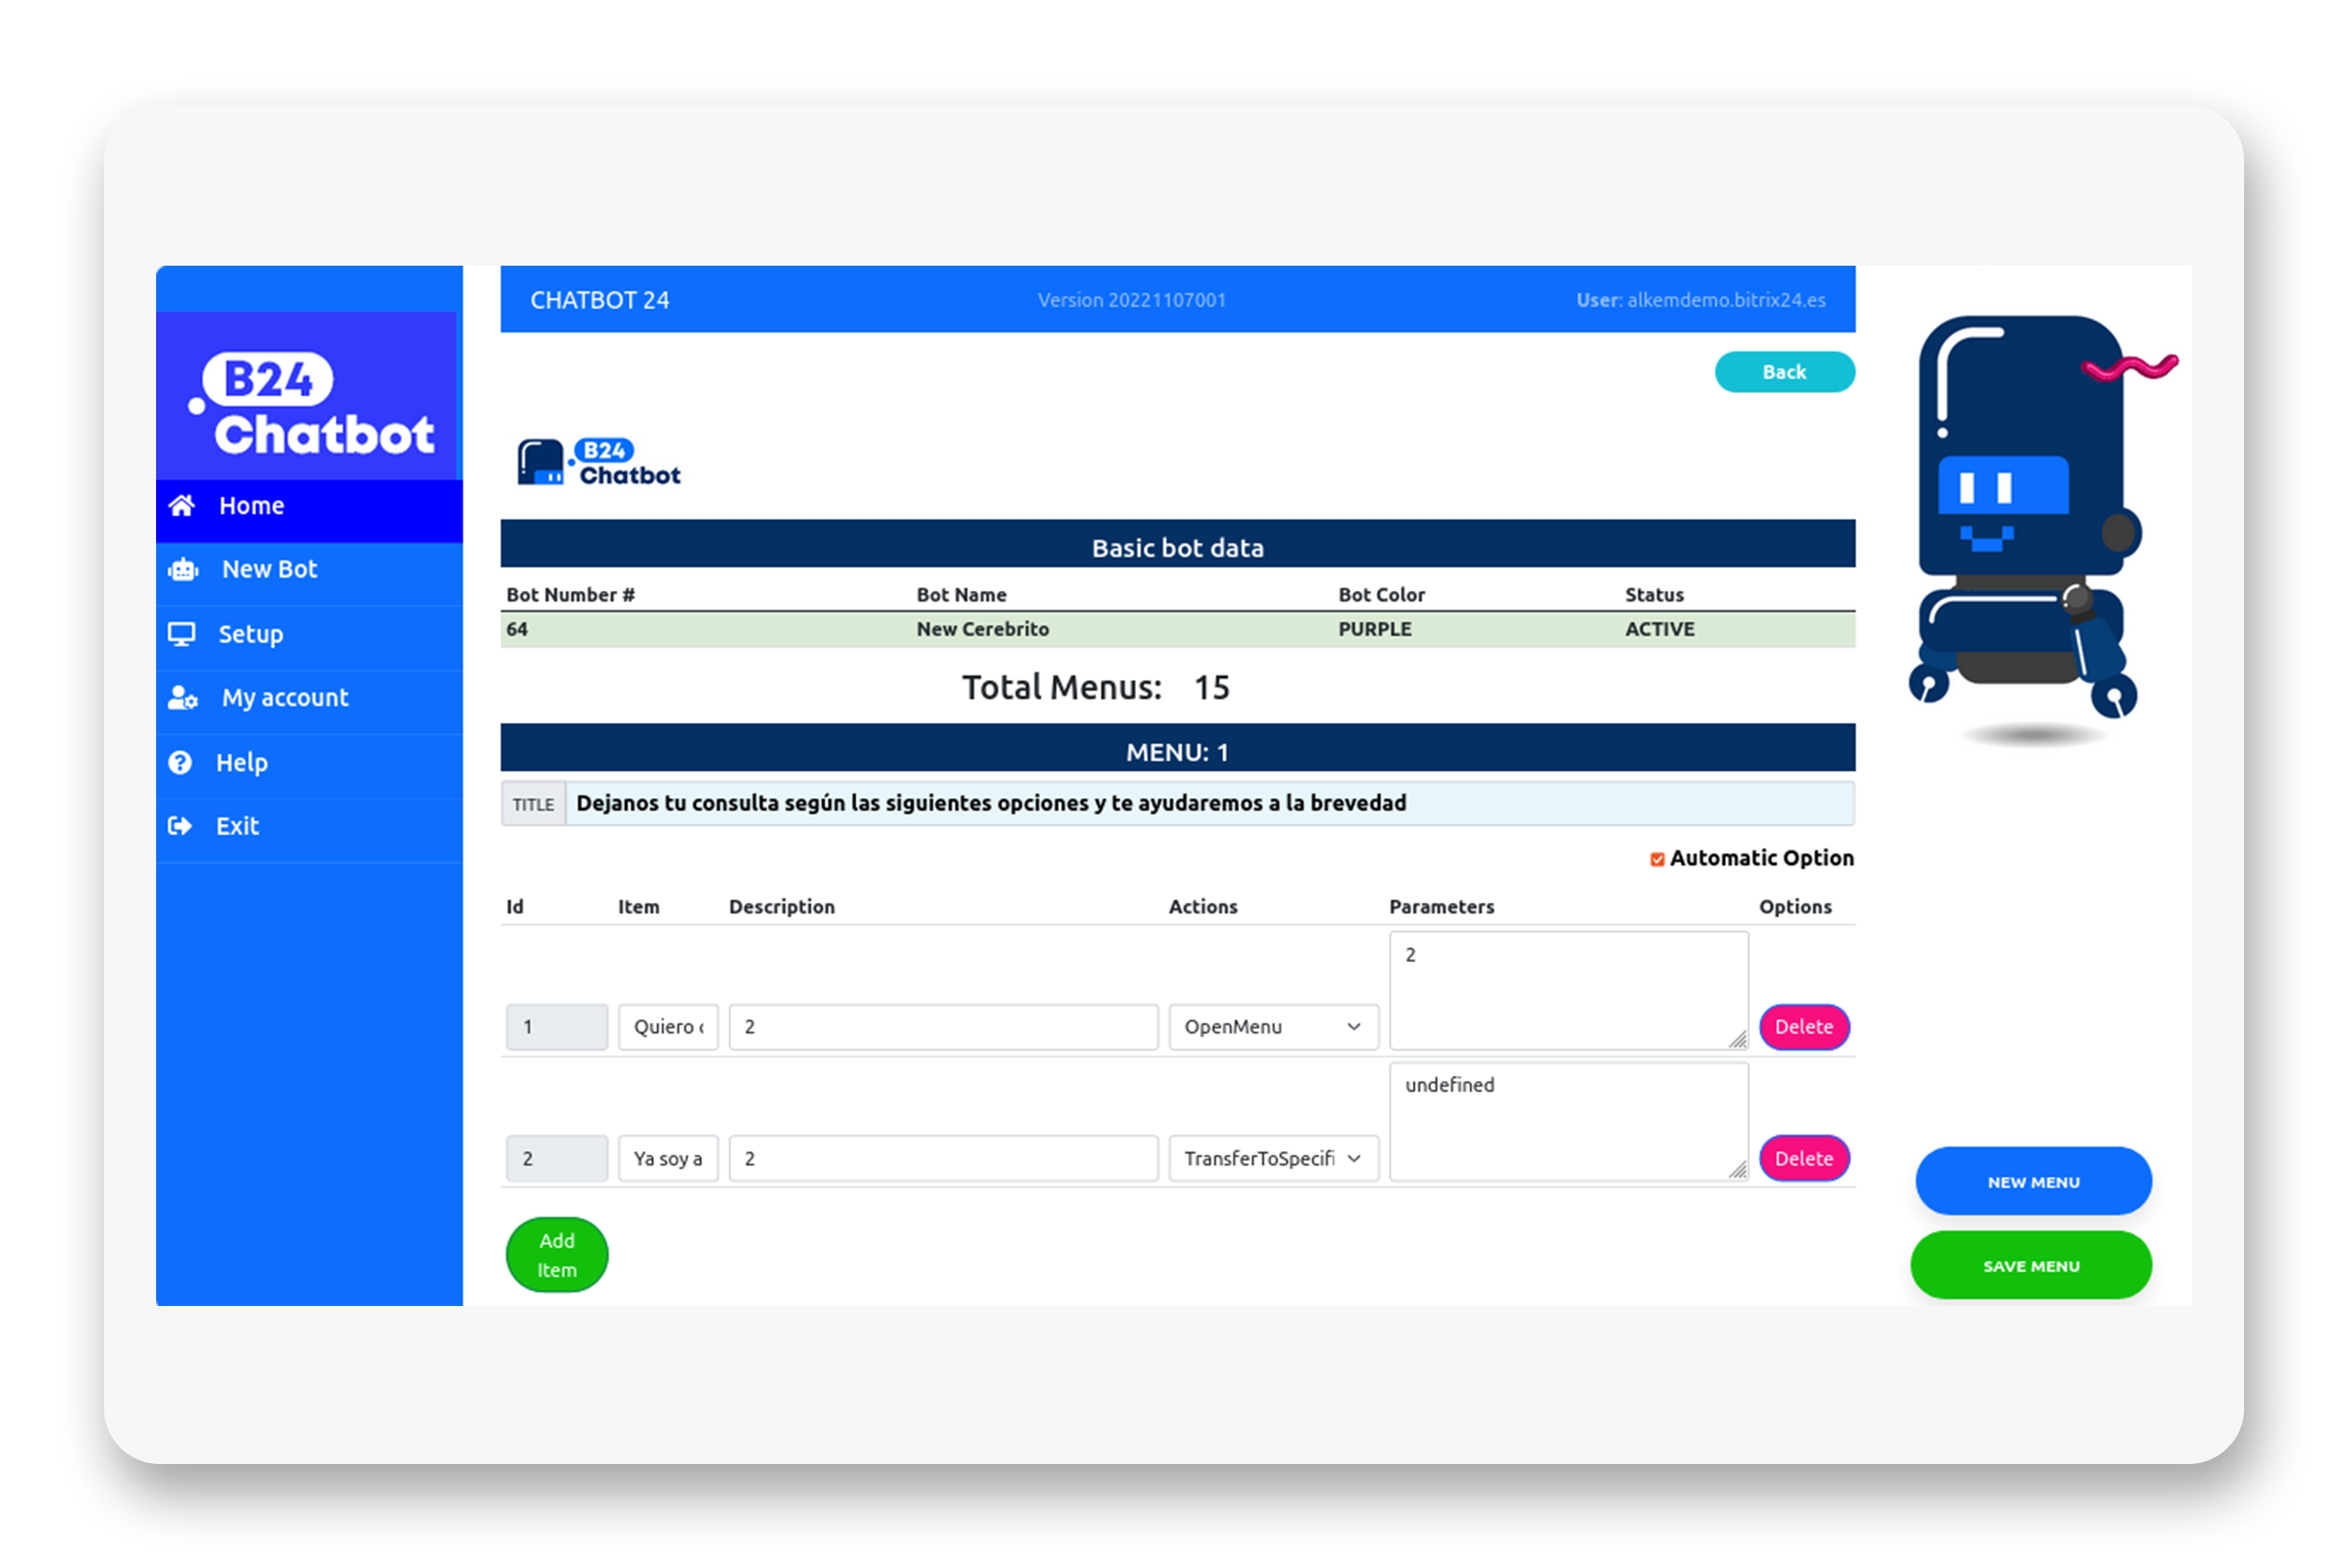
When entering the Chatbot settings, the Chatbot menu options will be empty.

The top banner of the main panel will indicate which bot we have entered, its name, colour and status.
Underneath, we will see a counter that will indicate the number of menus generated in this Bot, and then a detail of each one of them, with the different options that have been configured.

New Menu: To create a new menu, click on the blue button with the name "New Menu", located at the bottom right margin, which will generate a new menu.

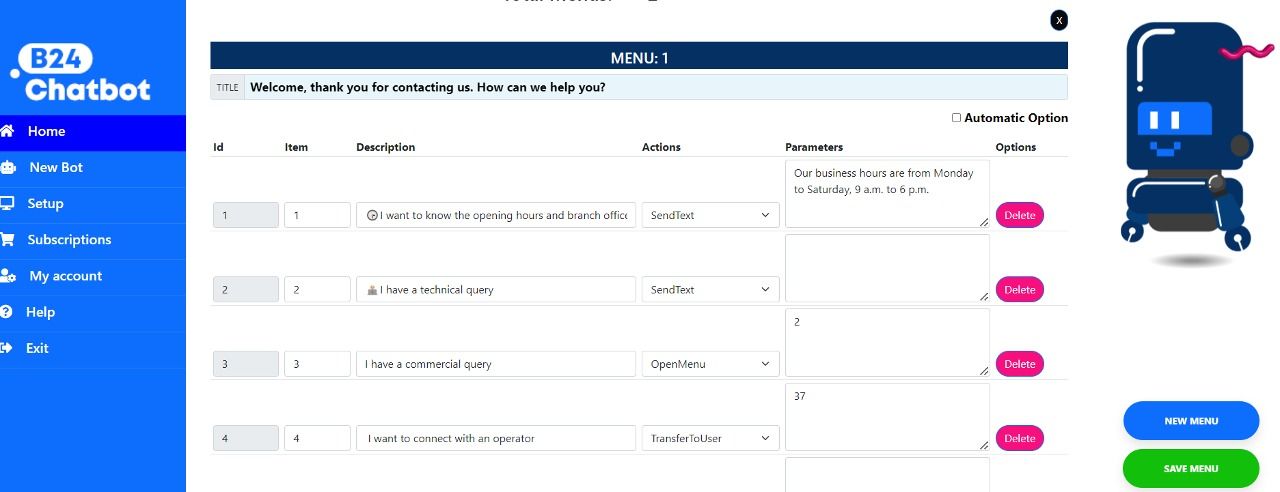
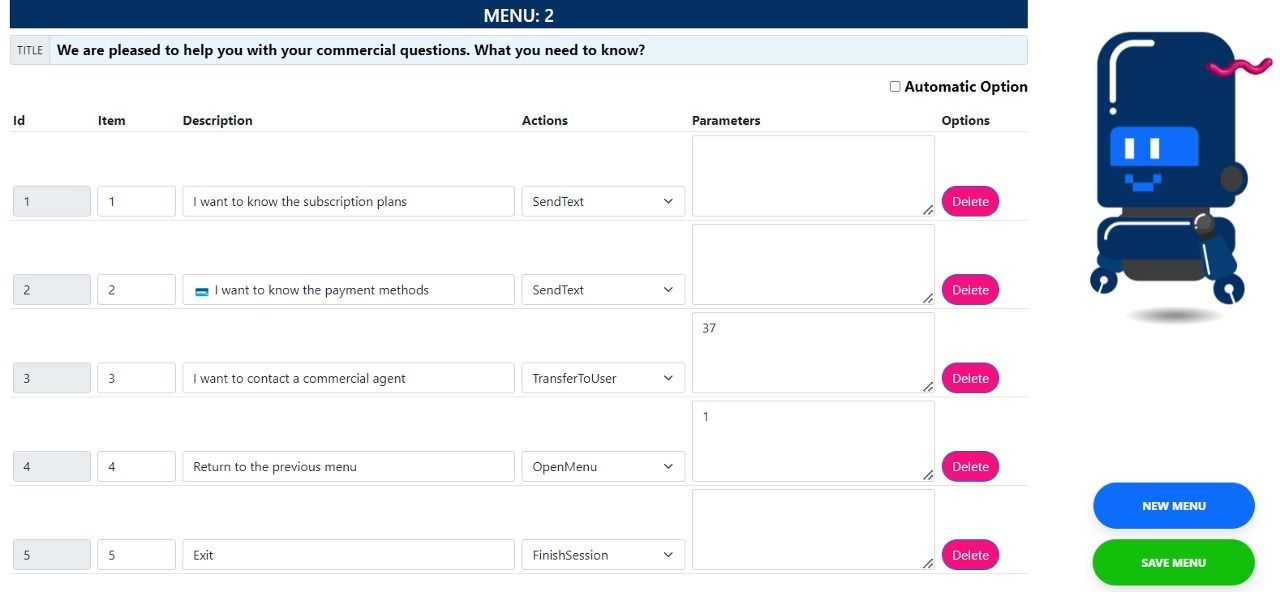
Title: Once the new menu has been created, we can put its title in the "TITLE" box.
This title will be the initial message with which the Bot will be presented. For example:
"Hi, I'm B24Chatbot, how can I help you?"

Item: Within each menu, you must add the different items, which represent the main options that the customer will access when consulting through the Chatbot.

Description: Here you should place the "title" of the item, by entering a text. Optional: Using the keys Windows+ dot (.), you can choose to add emojis to complement your Chatbot.

Example: If I select as item no. "1" and as Description "I want to know the payment methods", the visible result in the Chatbot will be:  1 - I want to know the payment methods

Actions: It is the action that will be executed if the client chooses this item.
Possible actions:
1. Open Menu: Opens the menu indicated in the Parameters field. For example, if we have 2 menues, an item of the menu 1 can open the menu 2. 

2. Send Text: When the client selects an option (item) from the menu that has configure a "Send Text" as Action, the chatbot returns the text that is indicated in the Parameters field. After the text, the menu is shown again.

3. Send Text without Menu: When the client selects an option (item) from the menu that has configure a "Send Text" as Action, the chatbot returns the text that is indicated in the Parameters field. (It is always convenient to use the "Send Menu" option to show the menu to the client again and not this option).


4. Transfer to User: Transfer the conversation to an specific agent in Bitrix24 by entering the agent's user number in the "Parameters" field.

5. Transfer to Bot: Transfer the conversation to another bot.

6. Finish Session: Ends the session. You can add a text (optional) in order to say goodbye to your client

6. ExecFunction: Executes a given function.

7. Delete: Deletes the selected item.

Once the menu has been configured, the changes made must be saved by clicking on the "Save Menu" button, located in the lower right-hand margin.


EXAMPLE

EXAMPLE RESULTS

ADD A SUSCRIPTION

Once you have your Bot configured (with all its menues and items) you can buy a subscription in order to use it in a Bitrix24 open channel.

You can access to the Subscription option in the left menu of the app and press the botton Add Subscription. You can select a Free Demo Subscription for 7 days, a Standard Subscription for 1 month or a Standard Subscription for 3 months.

If you select the Standard Subscription, after creating the subscription you must make the payment for it.

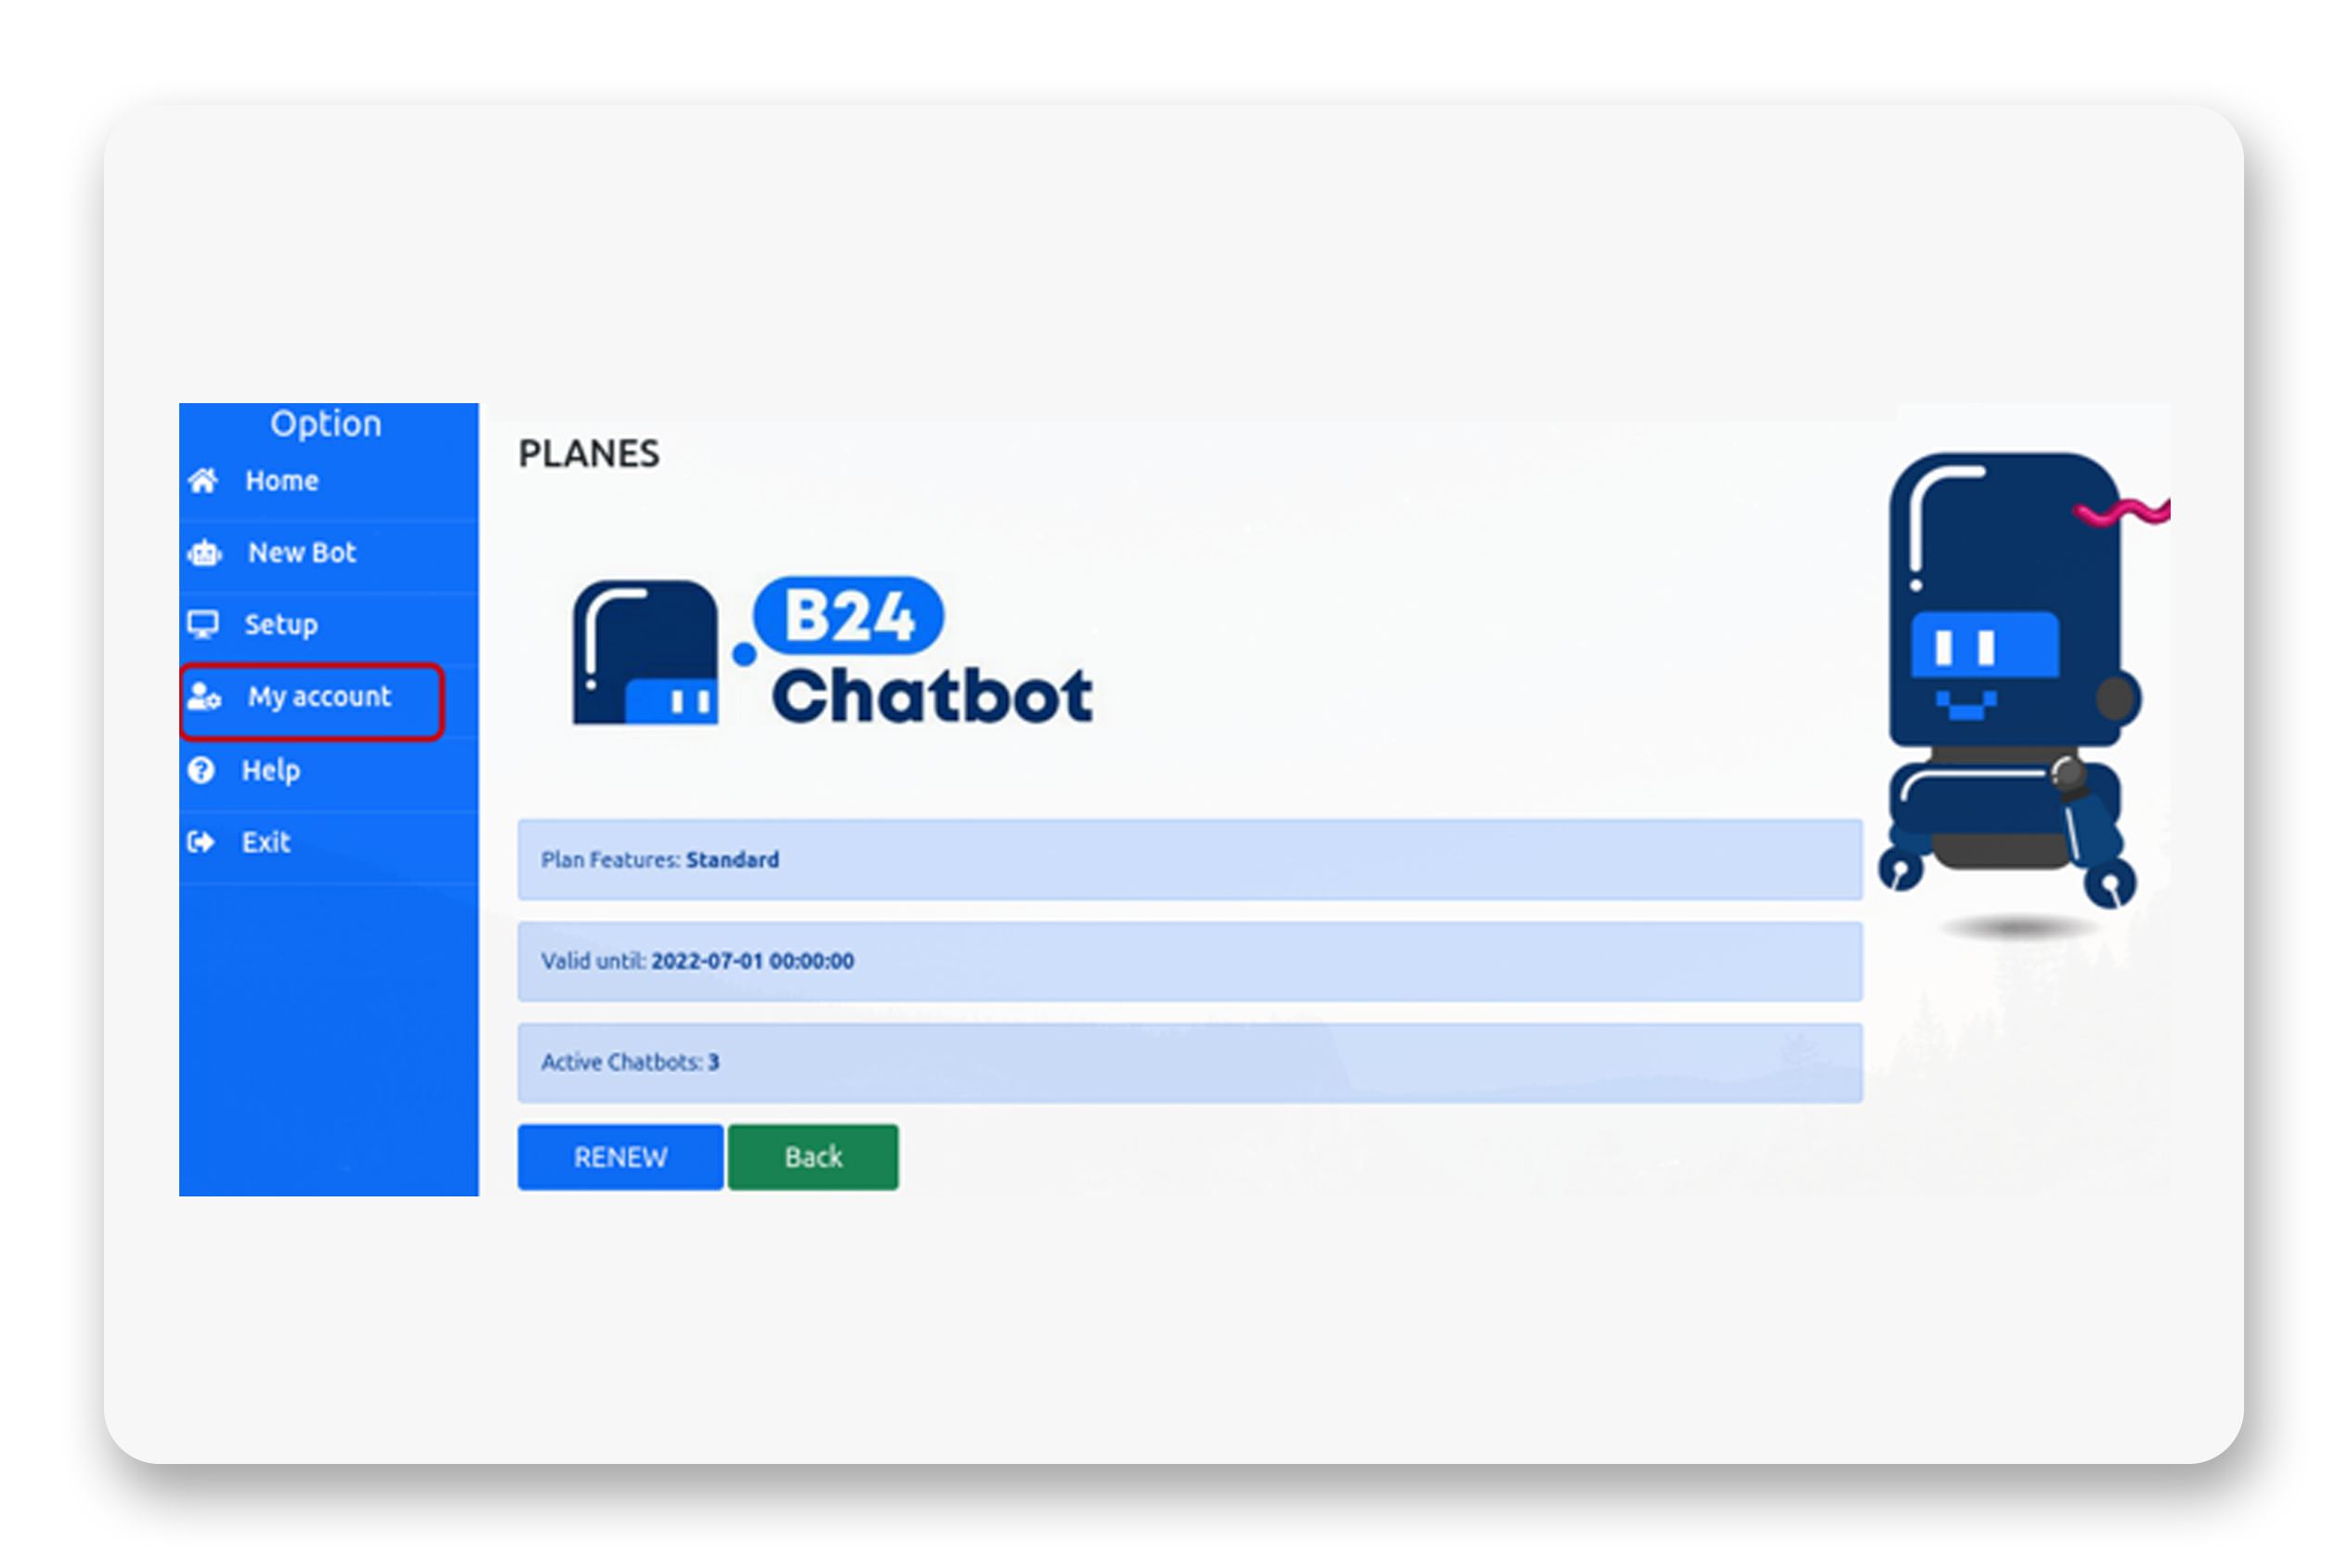
You need a credit card in order to pay the subscription and you need to complete your billing information in the option "My Account" in the left menu.

After you paid the subscription, you can see that the subscription changes its status to "ACTIVE" and you can select the BOT you want to add to the subscription (in case you have more than one Bot created).


Set Up the BOT in Bitrix24

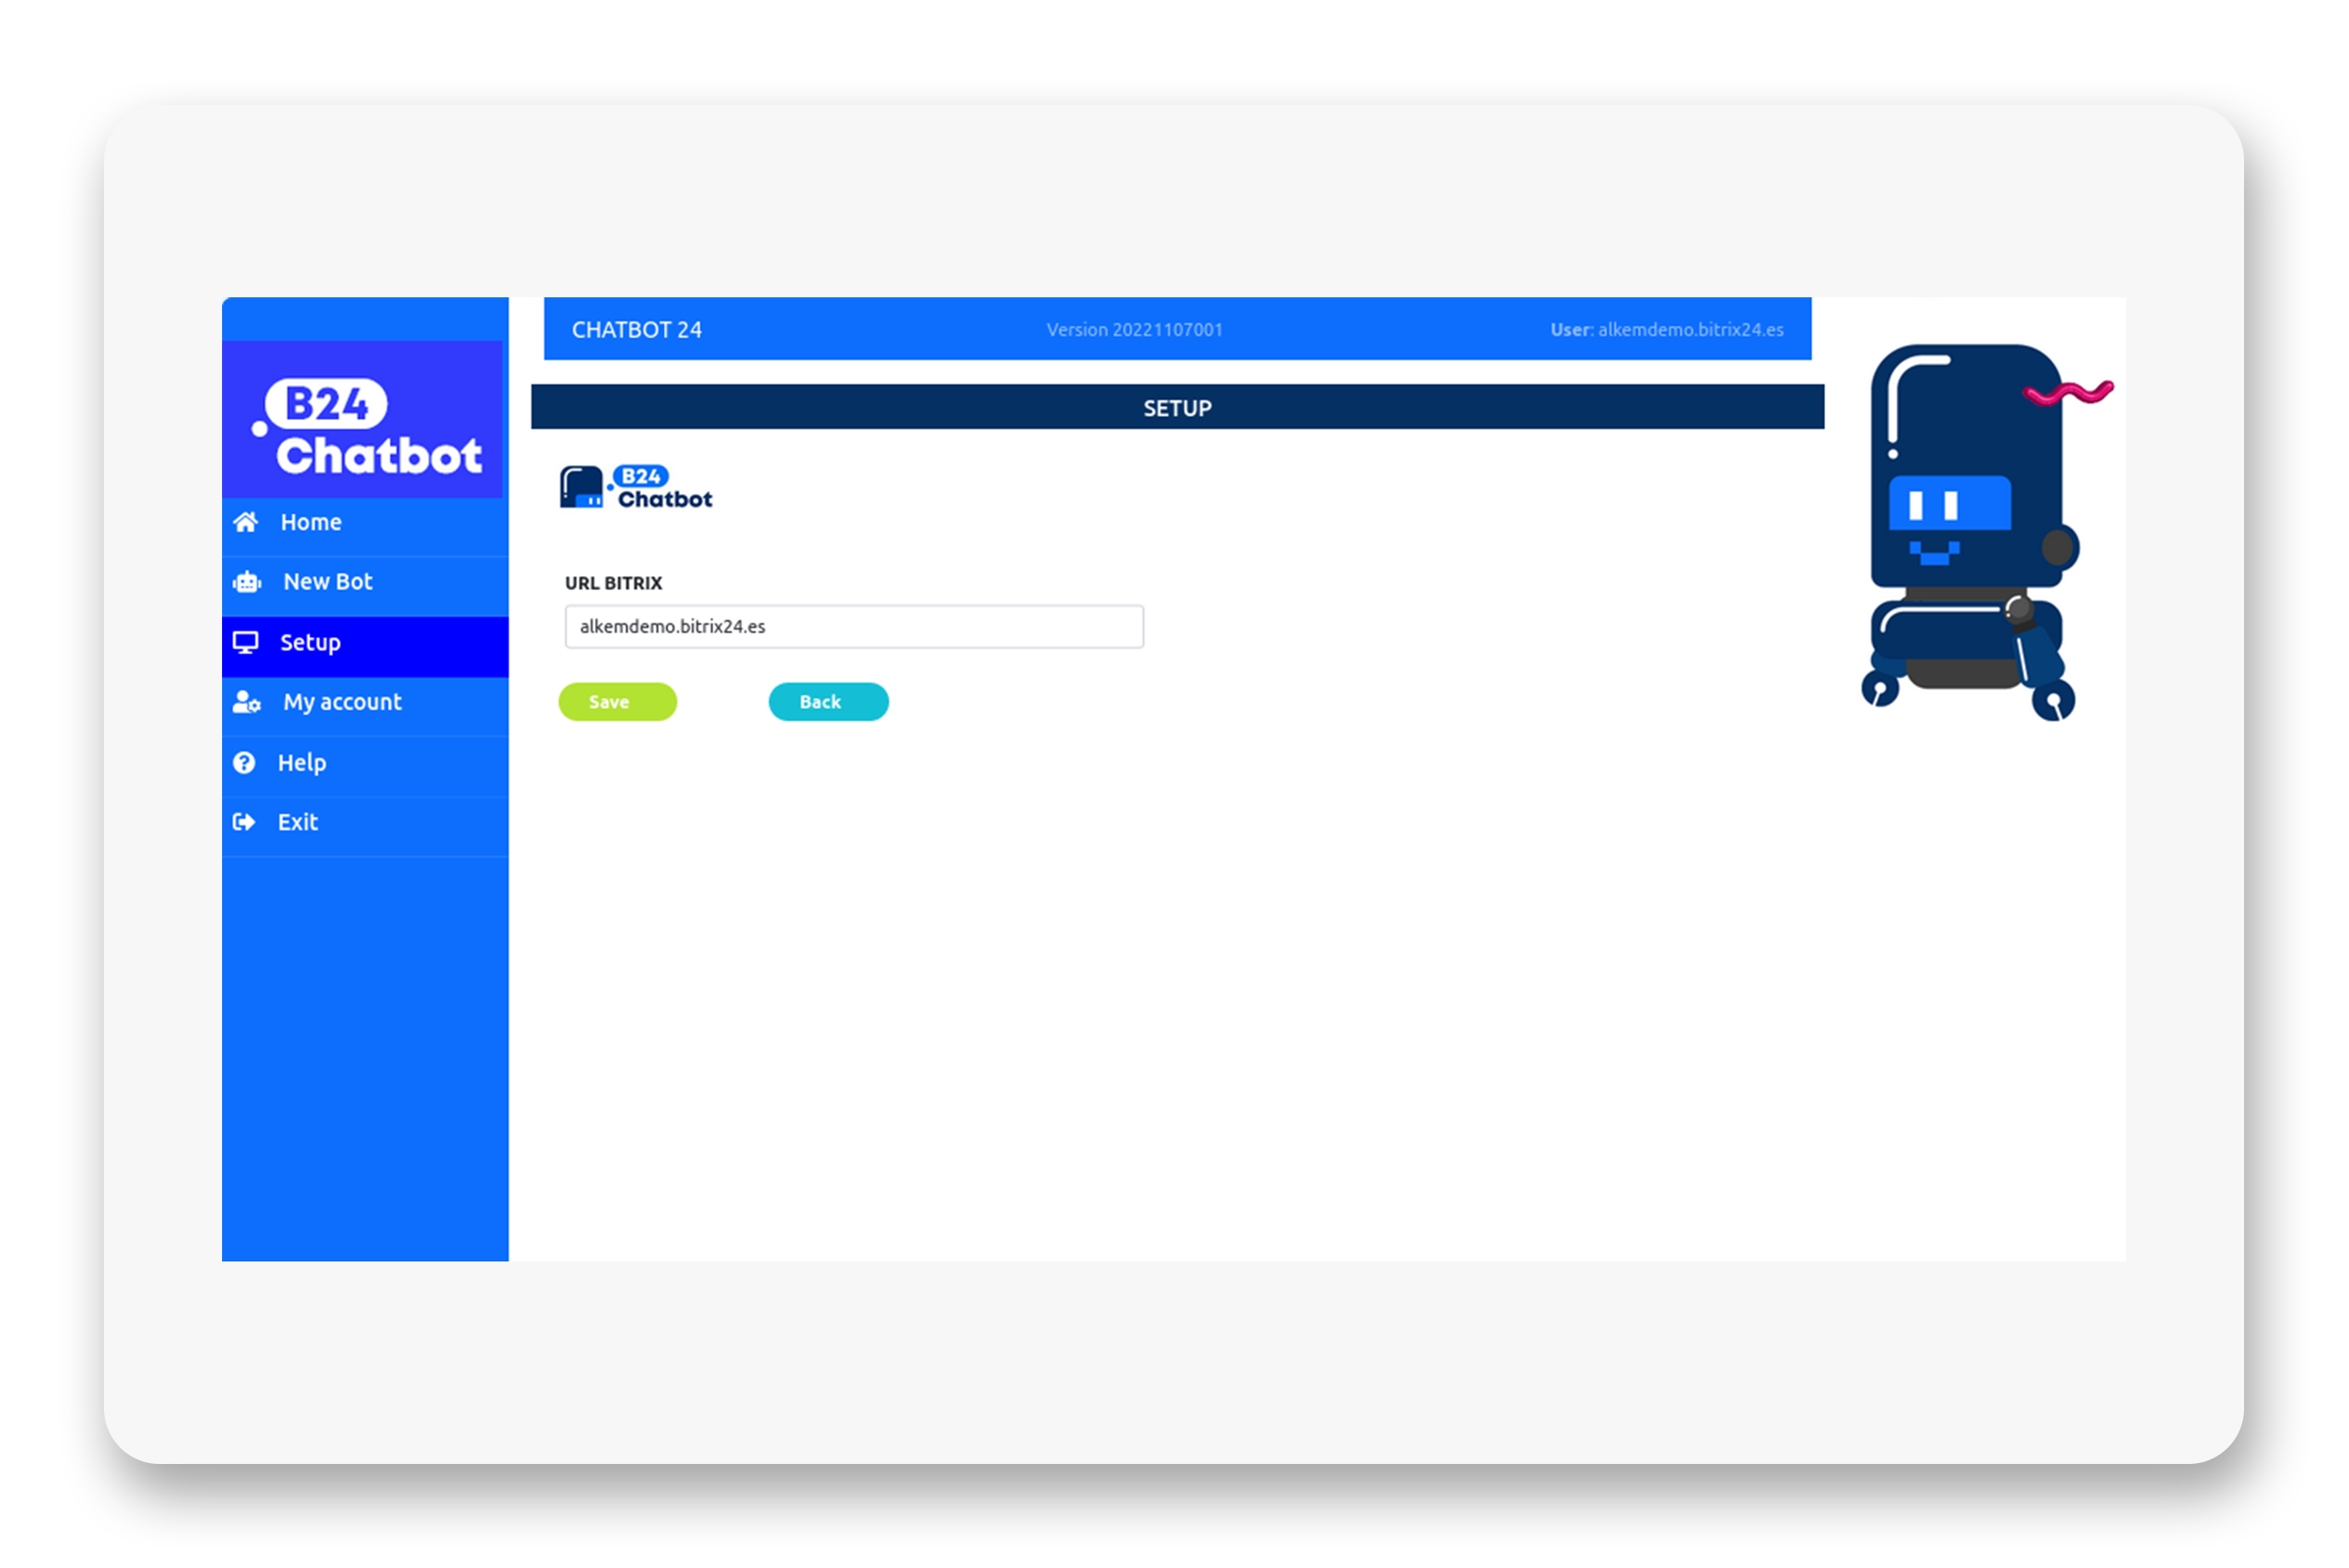
When creating a chatbot, an URL controller is generated. You can access to the Edit botton of your chatbot in order to copy this URL on the clipboard.

Once you copy the URL, follow the steps below:

- Open your Bitrix24 Portal. 

- In the Bitrix24 left menu select the option "Developer Resources" → Other → Local App.

- In this screen, verify that the "Server" option is selected. Then, fill in the "Driver path" and "Initial installation path" options with the URL controller that you copied to the clipboard.

- Click on the "Script only (no user interface)" box.

- Assign the following permissions: CRM - Chat bot creation and management (imbot) - Open Channels (imopenlines).

- Save.

Select the Bot in the Bitrix24 open channel

Now, you can access to the Contact Center Module in Bitrix24 and select tha channel where you want to include the BOT. For example, you can select the Live Chat or your Whatsapp Channel.

Inside the channel, select the Bot option in the left menu of the open channel and select the name of the Bot associated to the URL controller that you installed.

Now, your Bot is ready to work!

Note: Verify that your bot has a suscription paid.

See screen shots


My account

Here you can complete your billing information in case you want to add a suscription. If you have a suscription, you will see  the type of license purchased.

Help
From here you can access B24Chatbot's user information.

Exit
By clicking this option, you will be logged out of your B24chatbot account. 

OPERATION
SUMMARY

Once you have finished configuring the bot and add your chatbot to a subscription, you need to configure the URL controller in the Bitrix24 open channel. 

First of all, you need to verify that you have an active subscription (you have the option of a free subscription for 7 days that you can activate in the "Subscription" option or you can buy a standard subscription and add your chatbot to this subscription).

You need to verify that the chatbot status must be in the status "Added to a subscription" (you can see it in the Home page, in the left menu) and the Subscription must be in status "Active" (you can see it in the Subscription option, in the left menu).

Inside Bitrix24, you need to paste the URL controller in the open channel/s you need. For example, in the open channel connected with facebook, instagram, live chat, wazzup.

You need to open the Contact Center option and select the open channel.

How does B24Chatbot work on my website? 

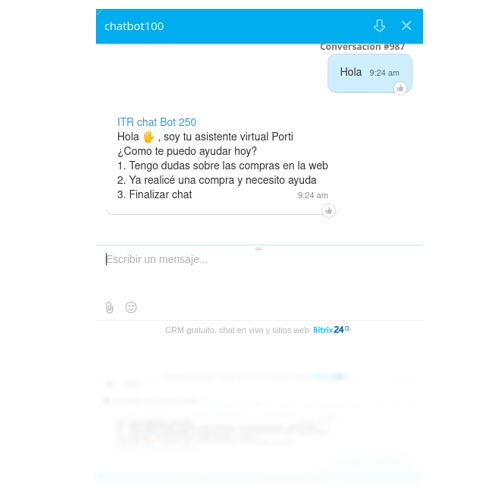
The client send a message in the chat (live chat, whatsapp, etc). The bot will send the first menu.

It is important to note that you will be able to see who is responding to the customer. In case it is the bot, the name we have assigned to it will be the one you will be able to see in the chat window.

When the customer enters the menu item number, the bot will automatically return the result configured for that option (it can be: send another menu, send a text, etc)

For example:

If we have a Bot configured with the following options:

Welcome, thank you for contacting us. How can we help you?

1 - I want to know the opening hours and branch offices
2 - I have a technical query
3 - I have a commercial query
4 - I want to connect with an operator
5 - Exit


If the customer enters "3",  the bot will return the menu 3, with the list of items that you have configured for it, for example:

We are pleased to help you with your commercial questions. What you need to know?
1 - I want to know the subscription plans
2 - I want to know the payment methods
3 - I want to contact a commercial agent
4 - Return to the previous menu
5 - Exit


If the customer chooses option "2", the bot will return the information about payment methods + the last menu (option SendText).

For example:

You can pay through your credit card via stripe or through international bank transfer. Can we help you with anything else?

1 - I want to know the subscription plans
2 - I want to know the payment methods
3 - I want to contact a commercial agent
4 - Return to the previous menu
5 - Exit


If the client send the number 3, he will tranfer to the user we confgure in the option